

Dealing with a stripped screw hole in your favorite wooden chair, table, or cabinet is a common frustration for homeowners across the USA. Fortunately, it’s often an easy fix you can handle yourself! The quickest methods usually involve packing the hole with materials like wood glue combined with toothpicks, golf tees, or specialized wood filler/epoxy. For a more robust repair, especially in larger holes, drilling out the damaged area and inserting a snug wood dowel plug provides a fresh surface for the screw to grip. These simple DIY techniques can restore stability and function to your wobbly furniture, often using items you already have around the house. While these fixes work wonders most of the time, don’t hesitate to seek professional help for antique pieces or complex structural damage.
Why Fix Stripped Screw Holes?
A wobbly chair leg, loose drawer handle, or sagging shelf isn’t just frustrating—it could indicate a stripped screw hole. This occurs when the wood fibers around the screw threads wear down, expand, or get damaged due to repeated use, overtightening, using the wrong screw size, or the natural softness of certain woods. Ignoring the issue can lead to further damage, instability, and an unattractive look. Fortunately, our expert repair service can quickly and effectively restore your furniture’s structural integrity, ensuring safety and keeping it looking its best. Don’t let minor issues turn into bigger problems—let us handle your furniture repairs with precision and care!
Before You Start: Assessing the Damage & Gathering Supplies
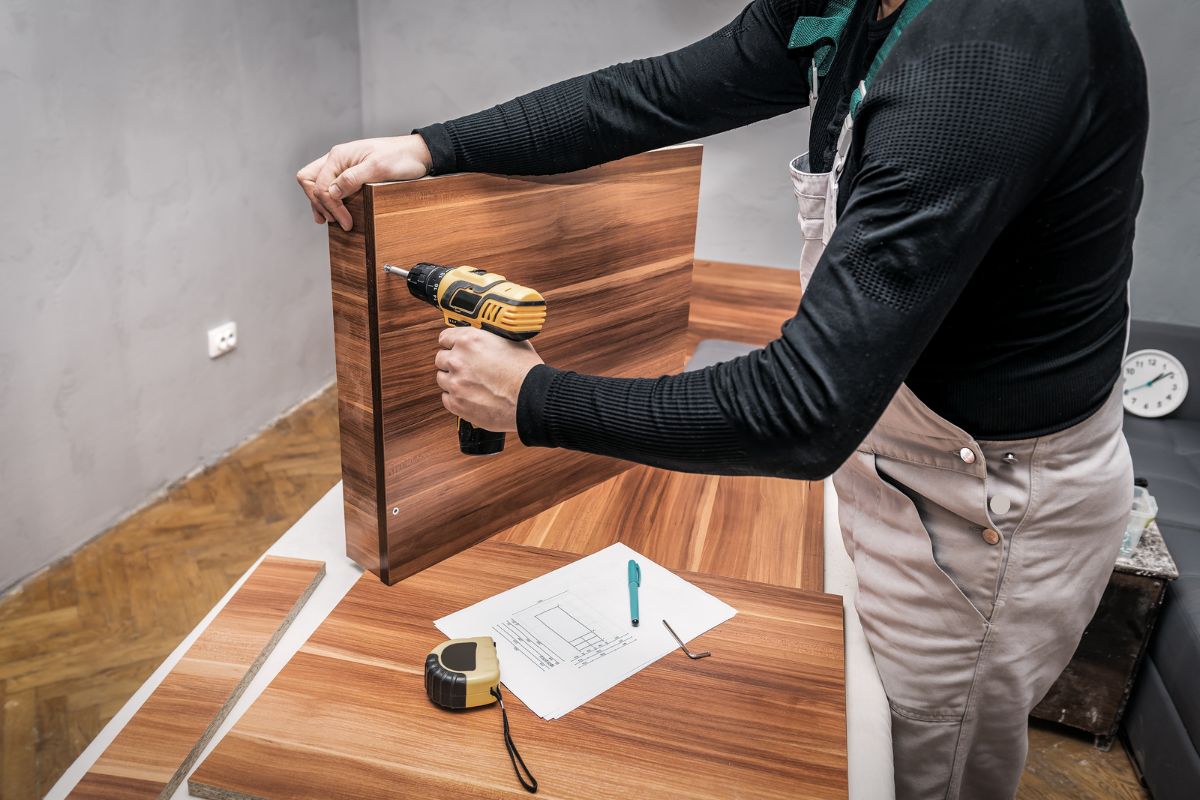
Before jumping into the repair, take a moment to properly assess the situation and gather your supplies. This preparation ensures a smoother, more effective fix.
Inspecting the Hole
Look closely at the stripped screw hole.
- Size and Depth: Is it slightly enlarged, or significantly bigger than the screw?
- Wood Condition: Is the surrounding wood solid, or is it cracked, splintered, or soft? The condition will influence the best repair method. For instance, cracked wood might need glue and clamping in addition to fixing the hole itself.
Necessary Tools and Materials
Most screw hole repairs use common household items or inexpensive products from the hardware store. Here’s a typical list:
- Screwdriver (matching the screw head)
- Wood glue (a good quality PVA glue is standard)
- Filler material: Wooden toothpicks, golf tees, thin wood scraps/shavings, or specialized screw hole repair kits.
- Wood dowel rod (matching the size needed for larger hole repairs)
- Drill and drill bits (for cleaning the hole or the dowel method)
- Sharp utility knife or chisel (for trimming)
- Sandpaper (medium to fine grit for smoothing)
- Wood filler or epoxy putty (alternative method)
- Paper towels or rags for cleanup
Noticing a chipped corner or a split edge on your favorite piece of furniture can be frustrating, but don’t worry! With a little patience and the right materials, you can restore it yourself. This guide will help you assess the damage, choose the best repair method—whether it’s a quick fix for minor chips or rebuilding larger breaks—and ensure a flawless finish. Repairing your furniture is not only cost-effective but also a more sustainable alternative to replacing it. For a step-by-step DIY guide, check out our blog: Repair Broken Corners & Edges.
Simple DIY Methods to Fix Screw Holes
Depending on the severity of the stripped hole and the materials you have, here are three reliable methods popular across the US:
Method 1: The Toothpick or Golf Tee Trick (with Wood Glue)
This is often the quickest and easiest fix for slightly stripped holes.
- Clean out any loose wood debris from the hole.
- Squirt a generous amount of wood glue directly into the hole.
- Insert several wooden toothpicks (or pieces of a golf tee, or small wood shavings) into the glue-filled hole. Pack them in snugly until the hole is filled.
- Break or cut the toothpicks/tees flush with the wood surface using a utility knife.
- Allow the glue to dry completely according to the manufacturer’s instructions (often several hours or overnight).
- Once dry, you can drill a small pilot hole (optional but recommended) and carefully re-insert the screw. It should now grip tightly.
Method 2: Using Wood Filler or Epoxy Putty
Wood filler or two-part epoxy putty provides a solid base for new screw threads.
- Clean the hole of any debris.
- Prepare the wood filler or epoxy putty according to the product directions.
- Press the filler firmly into the screw hole, ensuring it fills the cavity completely. Slightly overfill to account for any shrinkage.
- Smooth the surface with a putty knife or damp cloth.
- Let the filler cure completely – this can take varying amounts of time, so check the packaging (epoxies are often faster).
- Once fully hardened, sand the area smooth if needed.
- Drill a new pilot hole in the center of the filled area and re-insert the screw.
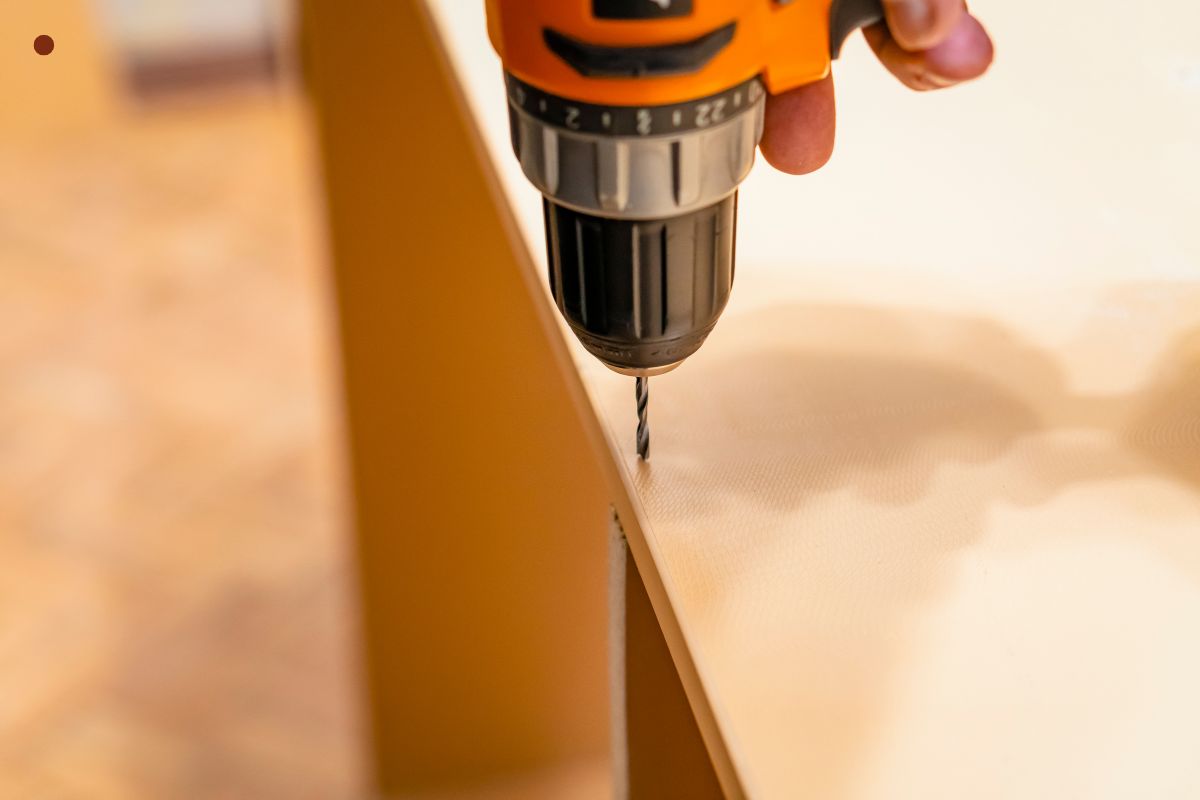
Method 3: Drilling and Plugging with a Dowel Rod
This method is best for larger stripped holes or when a very strong repair is needed.
- Select a drill bit slightly larger than the damaged screw hole.
- Carefully drill out the stripped hole to create a clean, uniform cylinder.
- Select a wooden dowel rod that fits snugly into the newly drilled hole.
- Cut a small piece of the dowel rod, slightly longer than the depth of the hole.
- Apply wood glue generously inside the drilled hole and around the piece of dowel.
- Tap the dowel plug firmly into the hole until it’s fully seated.
- Wipe away any excess glue immediately.
- Allow the glue to dry completely.
- Once dry, use a sharp knife or flush-cut saw to trim the dowel perfectly level with the furniture surface. Sand smooth if necessary.
- Drill a new pilot hole into the center of the dowel plug and insert the screw.
Finishing Touches for a Clean Repair
Whichever method you used, the final steps are key to a durable and neat repair:
- Pilot Hole: Especially important after using filler or a dowel, slightly smaller than the screw’s diameter makes inserting the screw easier and prevents the new material (or the dowel) from splitting.
- Re-insert Screw: Drive the screw in carefully. Avoid overtightening – stop when it feels snug to prevent stripping the hole again!
- Clean Up: Wipe away any remaining glue residue before it fully hardens. If you used filler, ensure it’s sanded smooth and flush with the surrounding wood.
- Touch-up (Optional): If necessary, finish the repair by blending the area with a matching stain or paint pen to ensure a flawless, seamless look. This final touch helps restore your furniture’s original beauty and keeps it looking as good as new. Need professional help? Call us today for expert furniture repair!
Preventing Future Stripped Screw Holes
An ounce of prevention is worth a pound of cure! Here’s how to avoid dealing with stripped screw holes in the future:
- Use the Right Screw: Ensure the screw diameter and length are appropriate for the wood and the load it will bear.
- Don’t Overtighten: Tighten screws until they are snug, but resist the urge to crank them further. This is a primary cause of stripping.
- Drill Pilot Holes: Especially in hardwoods, always drill a pilot hole slightly smaller than the screw diameter. This gives the threads a path and reduces stress on the wood fibers.
- Consider Washers: For high-stress connections, using a washer under the screw head can distribute pressure more evenly.
- Gentle Disassembly: If taking furniture apart, turn screws carefully rather than forcing them.
Following these furniture care tips can significantly extend the life of your furniture’s connections.
When Should You Call a Professional Furniture Repair Service?
While DIY repairs are great for many common issues, sometimes it’s best to call in the experts.
- The furniture is valuable or antique: Don’t risk damaging an irreplaceable piece. Professionals understand period construction and materials.
- The damage is extensive: If the wood around the hole is severely cracked, split, or rotted, a simple plug might not be enough. Structural repairs may be needed.
- It’s a critical structural joint: For major load-bearing parts of chairs or tables, ensuring a professional, robust repair is crucial for safety.
- You lack the tools or confidence: If you’re uncomfortable with drilling or cutting, or don’t have the right tools, a pro can handle it efficiently and correctly.
- Previous DIY attempts have failed: If a quick fix didn’t do the trick, there may be a deeper issue that requires expert attention. A professional can assess the problem, identify the root cause, and provide a long-lasting solution. Don’t let the damage worsen—call us today for expert furniture repair!
Frequently Asked Questions (FAQs)
Here are answers to some common questions homeowners in the USA have about fixing stripped screw holes:
What’s the easiest way to fix a stripped screw hole in wood?
For slightly stripped holes, the toothpick (or golf tee) and wood glue method is generally considered the easiest and quickest DIY fix, requiring minimal tools and materials.
Can I use wood glue alone to fix a screw hole?
Wood glue alone typically won’t work well. It needs filler material (like toothpicks, shavings, or a dowel) to bulk up the hole and give the screw threads something solid to bite into once the glue dries.
How long should I let the glue/filler dry before inserting the screw?
Always follow the manufacturer’s instructions on the packaging. Wood glue often needs several hours or even 24 hours to fully cure. Wood fillers and epoxies have varying drying/curing times, ranging from minutes to hours. Don’t rush this step!
What if the wood around the screw hole is split or cracked?
If the wood is cracked, it’s essential to fix that first. Apply wood glue into the crack, then clamp the pieces tightly until the glue fully dries. Once the crack is stabilized, you can repair the stripped screw hole using one of the recommended methods. For more severe damage, professional assistance may be necessary. Need expert help? Contact us today for reliable furniture repair services!